
Episerver (Optimizely) - Install the Quickchannel Episerver Plugin (Episerver 9, 10, 11)
This article covers the topic of how to install the Screen9 Plugin for Episerver.
Episerver version 9, 10 and 11 are supported.
Using Optimizely version 12? Please see Optimizely 12 instead.
Using Episerver Foundation project please see the "Episerver Foundation installation and publishing" article.
In order to install the Screen9 Plugin you need administrator privileges on your Episerver and Quickchannel account.
Install NuGet in Visual Studio
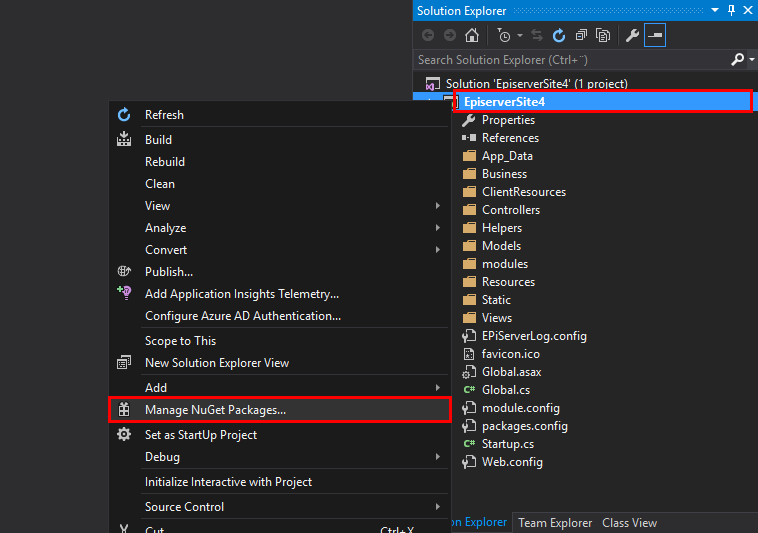
Right click your Episerver project and choose "Manage NuGet Packages...".
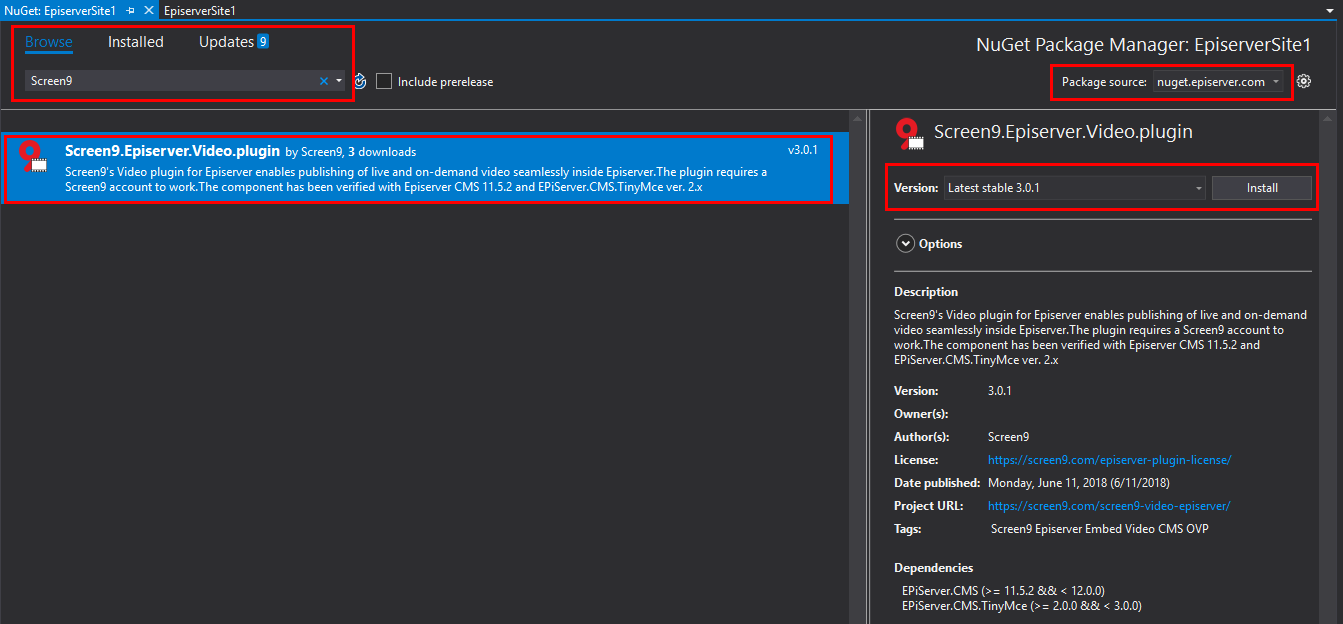
The Screen9 plugin for Episerver is available both in the official Episerver NuGet feed and nuget.org.
Make sure the package source is set to one of the above mentioned and go to the Browse tab and search for Screen9.
Choose "Screen9.Episerver.Video.plugin" from the list, make sure the correct version is selected.
Which version you want to select depends on what Episerver version you are running, 9, 10, 11, or 11 with TinyMCE version 2.
The version for TinyMCE in Episerver 11 can be found under 'EpiServer.CMS.TinyMce'.
| Episerver version | Plugin version |
| 9 & 10 | 1.1.3 |
| 11 with TinyMCE version 1 | 2.x.x |
| 11 with TinyMCE version 2 | 4.x.x |
After selecting the correct version of the plugin, press Install.
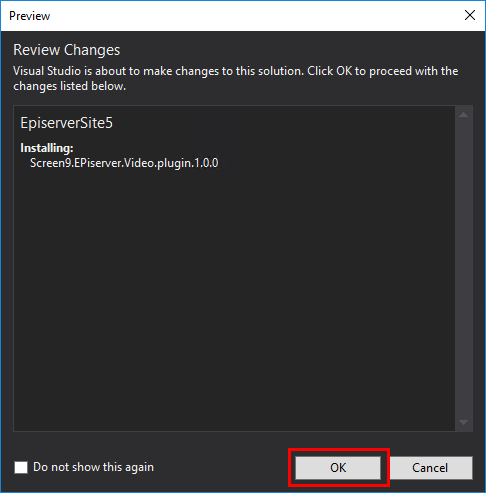
Press OK to proceed.
The plugin is now installed on your Episerver, follow the steps below to add a Screen9 account as content provider in the asset pane.
For more information about how to use the Screen9 Episerver Plugin, check out this article.
Add Quickchannel to the asset pane
Note that the asset pane extension is only available in plugin version 4.0.0 or above.
Create a REST API Access token with Read, Write and Upload privileges. We recommend setting the access level to Public in order to only display approved media, however if users are allowed to upload media from EpiServer the token must be Full otherwise the video will not be visible after upload. More details on how to create a REST API Access token can be found in this article.
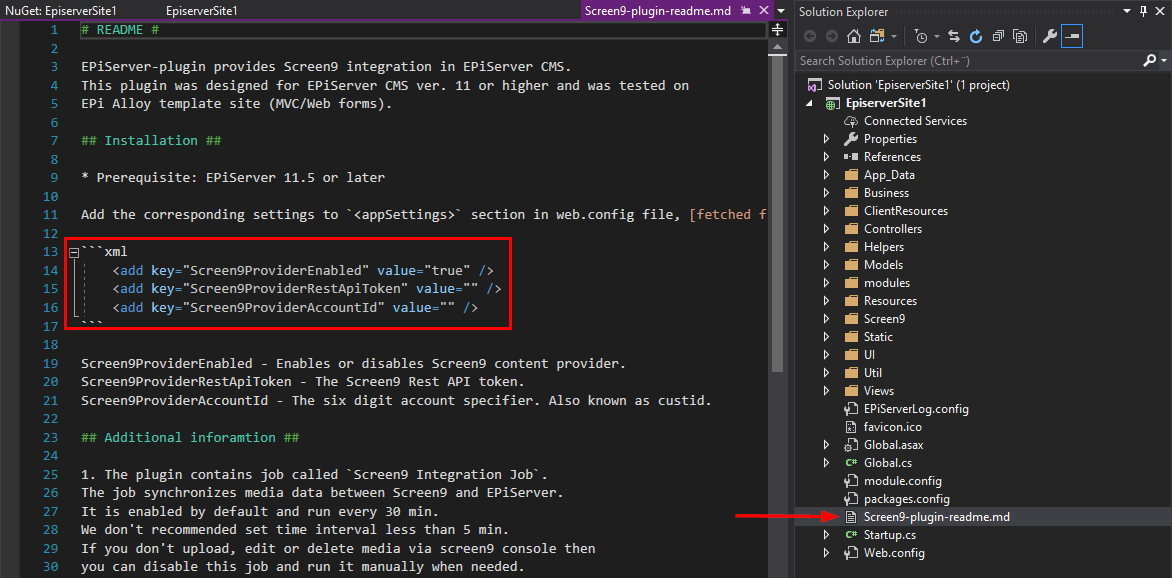
Find the file named Screen9-plugin-readme.md in your solution explorer and open it.
Copy the three rows under "xml" in Screen9-plugin-readme.md.
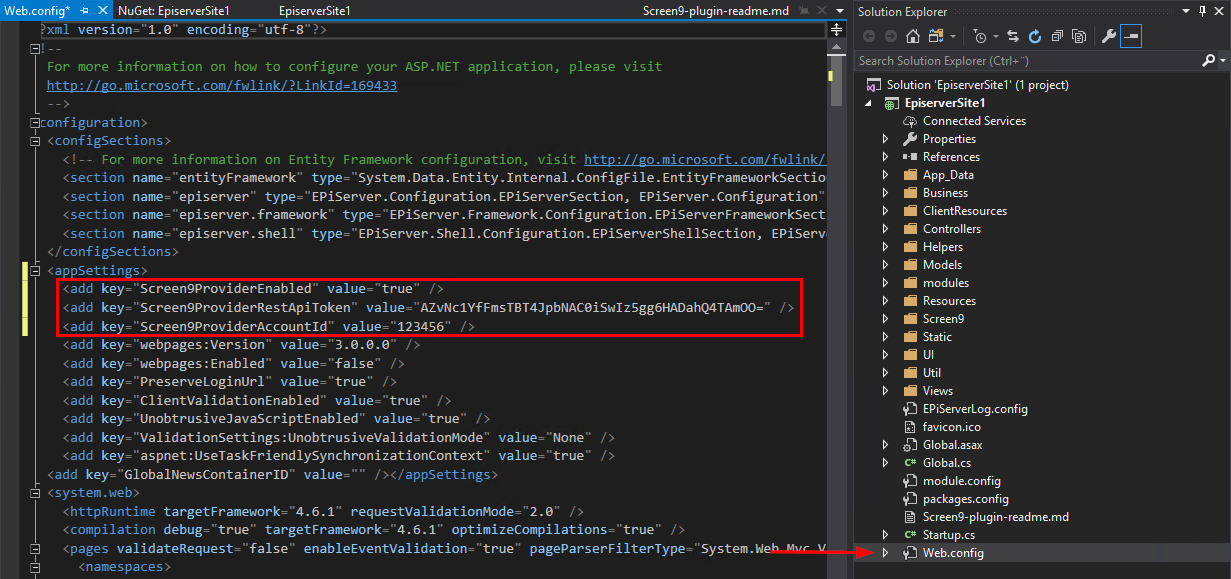
Find the file named Web.config in your solution explorer and open it.
Paste the three rows from Screen9-plugin-readme.md in the file Web.config under appSettings and fill in values for Screen9ProviderAccountId and Screen9ProviderRestApiToken from the access token you created previously and save Web.config.
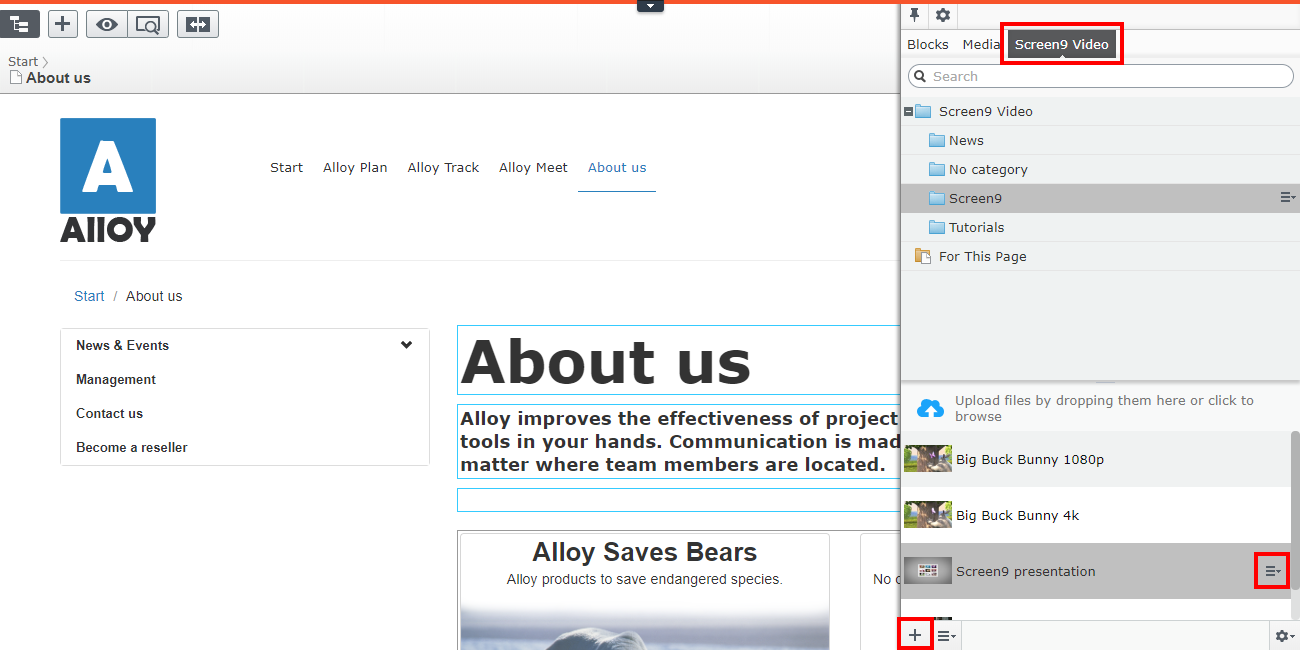
Screen9 (Quickchannel) will now show up as a content provider in the asset pane of your Episerver.
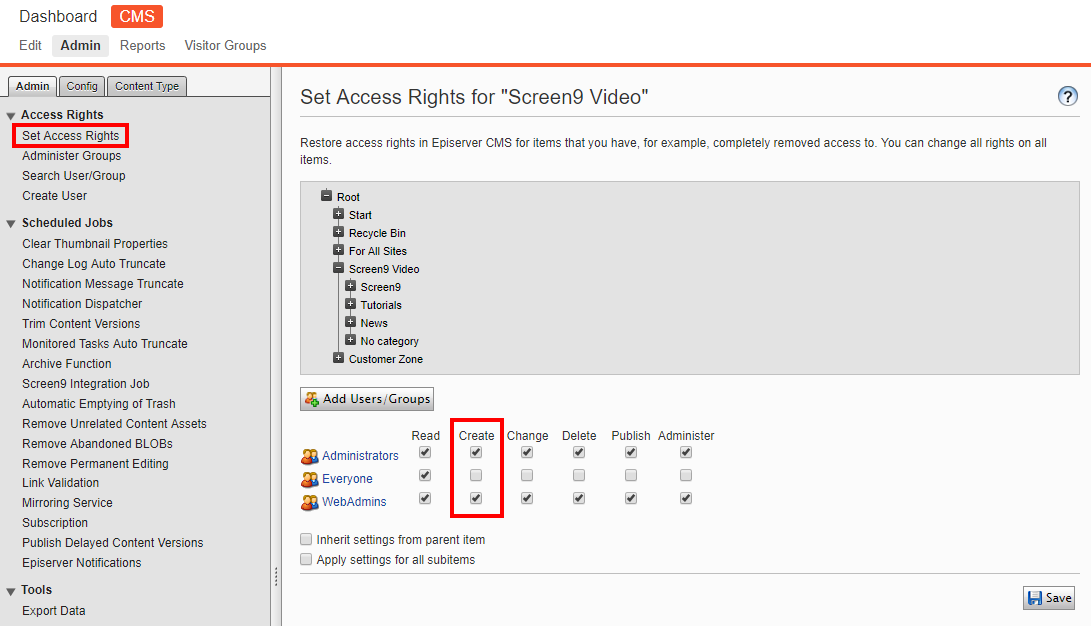
You can disable uploading from the asset pane by changing the Create access rights for the Screen9 Video content folder.
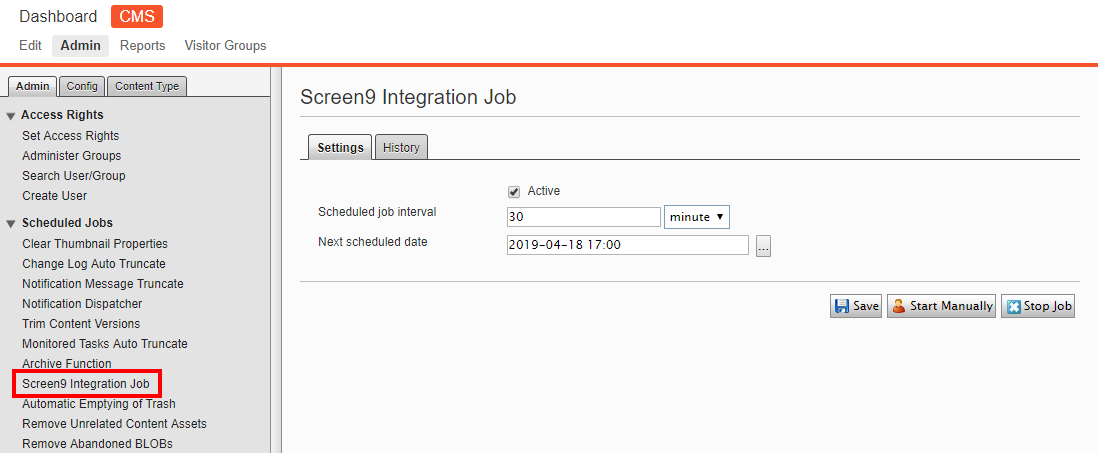
The media list in the asset pane will update every 30 minutes by default, this time interval can be changed by editing the value for Scheduled job interval under Screen9 Integration Job, it is not recommended to set this value to less than 5 minutes.
You can also choose to update the list of media manually by pressing Start Manually.
Activate Quickchannel icon in TinyMCE editor toolbar
Note that if you installed the Screen9 Episerver plugin version 3.0.0 or above the activation will be done automatically and the installation is already complete.
After installing the NuGet you can add the Quickchannel Video button to your Editor Toolbar.
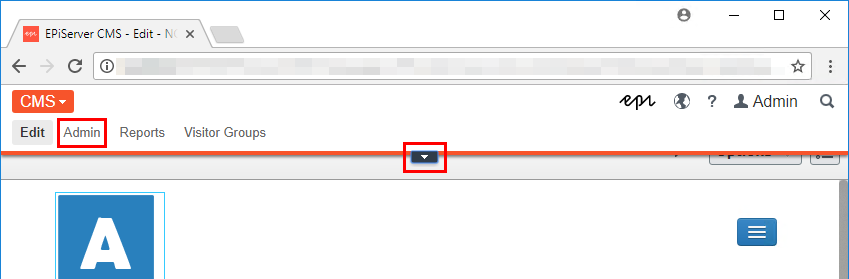
When logged in on the Episerver site, open the top toolbar, go in under CMS and choose Admin.
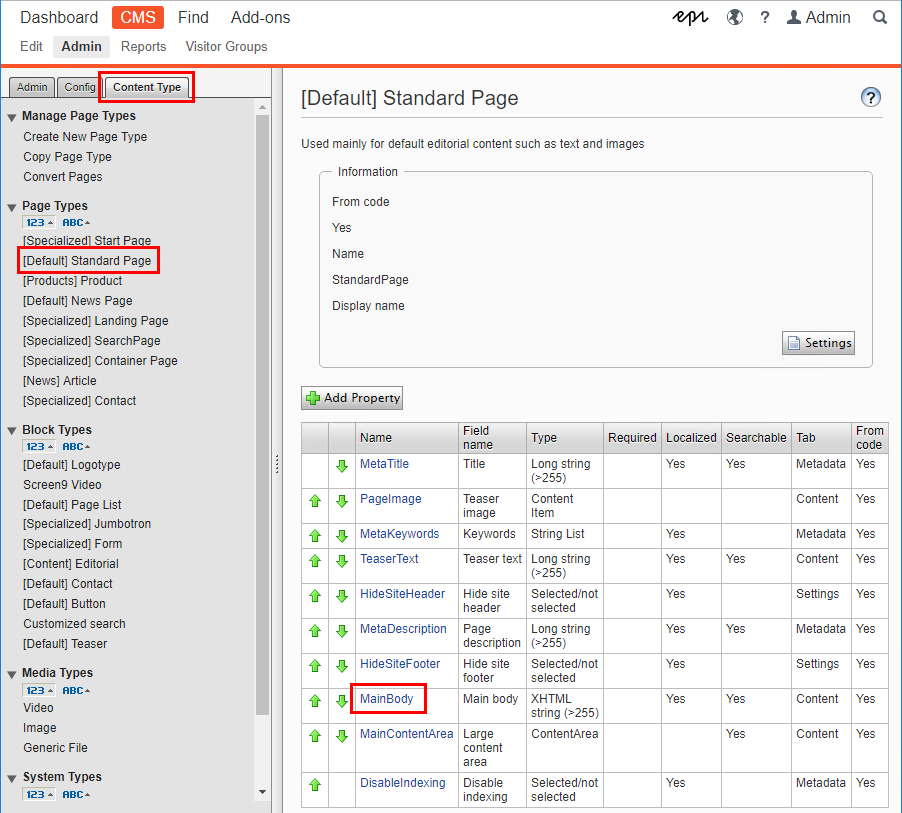
Go to the Content Type tab and select "[Default] Standard Page" under Page Types, then choose "MainBody".
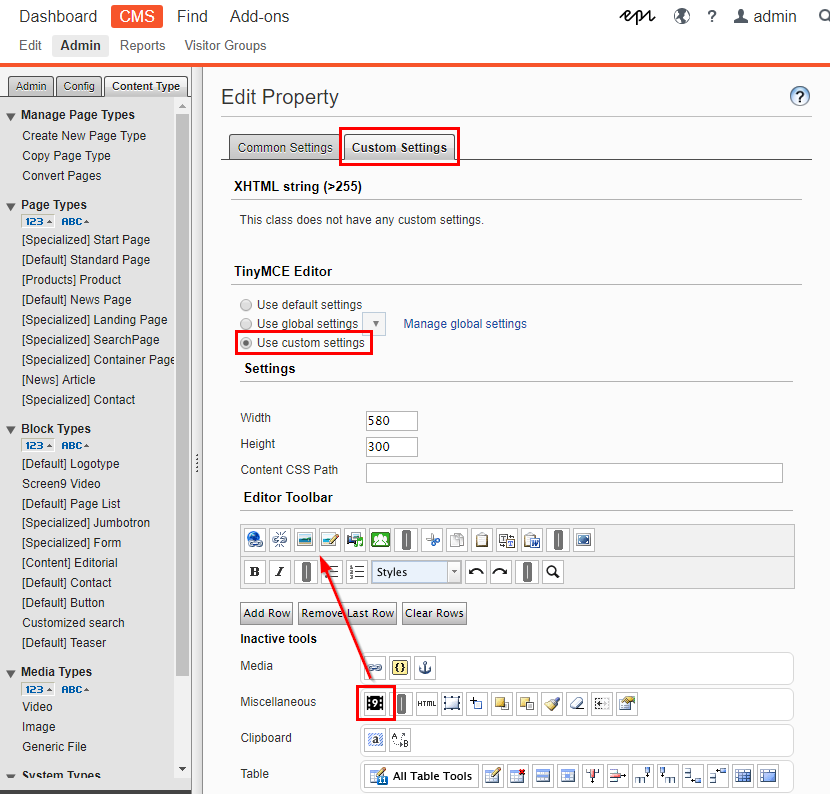
Select the "Custom Settings" tab and choose "Use custom settings" under "TinyMCE Editor".
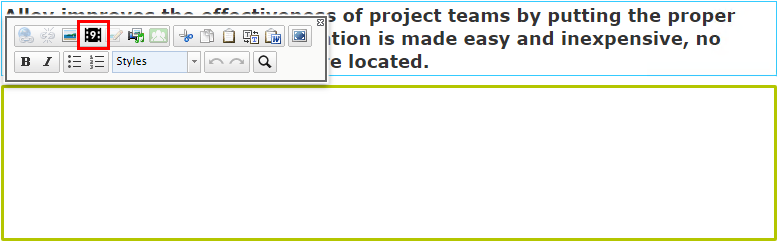
Drag the Quickchannel video icon from Miscellaneous under Inactive tools to desired location in the Editor Toolbar above. The recommended position is next to the image icon as shown above.
Press save at the bottom of the page.
The Quickchannel Video button is now added to the editor toolbar on your Episerver, for more information about how to use the Quickchannel Episerver Plugin, check out this article.
Additional notes
Uploads to Quickchannel via the Episerver plugin are affected by the max file size limits configured on your server. If your uploads are failing, verify that the size of the files you are uploading does not exceed the maxAllowedContentLength configured on your server. If needed you can increase the file size limit by extending the web.config file in your Episerver project to include the following (replace '1000000000' with the length you want to allow).